

Our Home Renovation: Zone Zero
Although this blog is focused more on earth care practices, this is also a blog about family and home life which is why I wanted to share the hard work Miles and I put in into making this new house a home.
In permaculture design (i.e. a design method that integrates systems of interconnectedness that considers the land, resources, animals, and the environment in order to create a balanced ecosystem— my own definition, look it up!), there’s this concept of zones. Basically, zones are a way to break up land into the areas that you visit most, so zone zero (being the closest & most frequently visited), would be the home!
As much as Miles and I are excited to get started designing this land, planting, and implementing various systems, we first had to create our safe little nest. Our house is quaint but perfect for our current family unit, especially since we’re trying to keep our footprint small, but with all that being said, the house still needed some updating and TLC to really make it feel like home. So we rolled up our sleeves, made a plan, and gave ourselves about 4.5ish weeks to get everything done (split over two trips).
To really see the impact, we have to start with Phase 1: envisioning ourselves in the space. Here are the ‘before’ photos of the main area we ended up renovating.
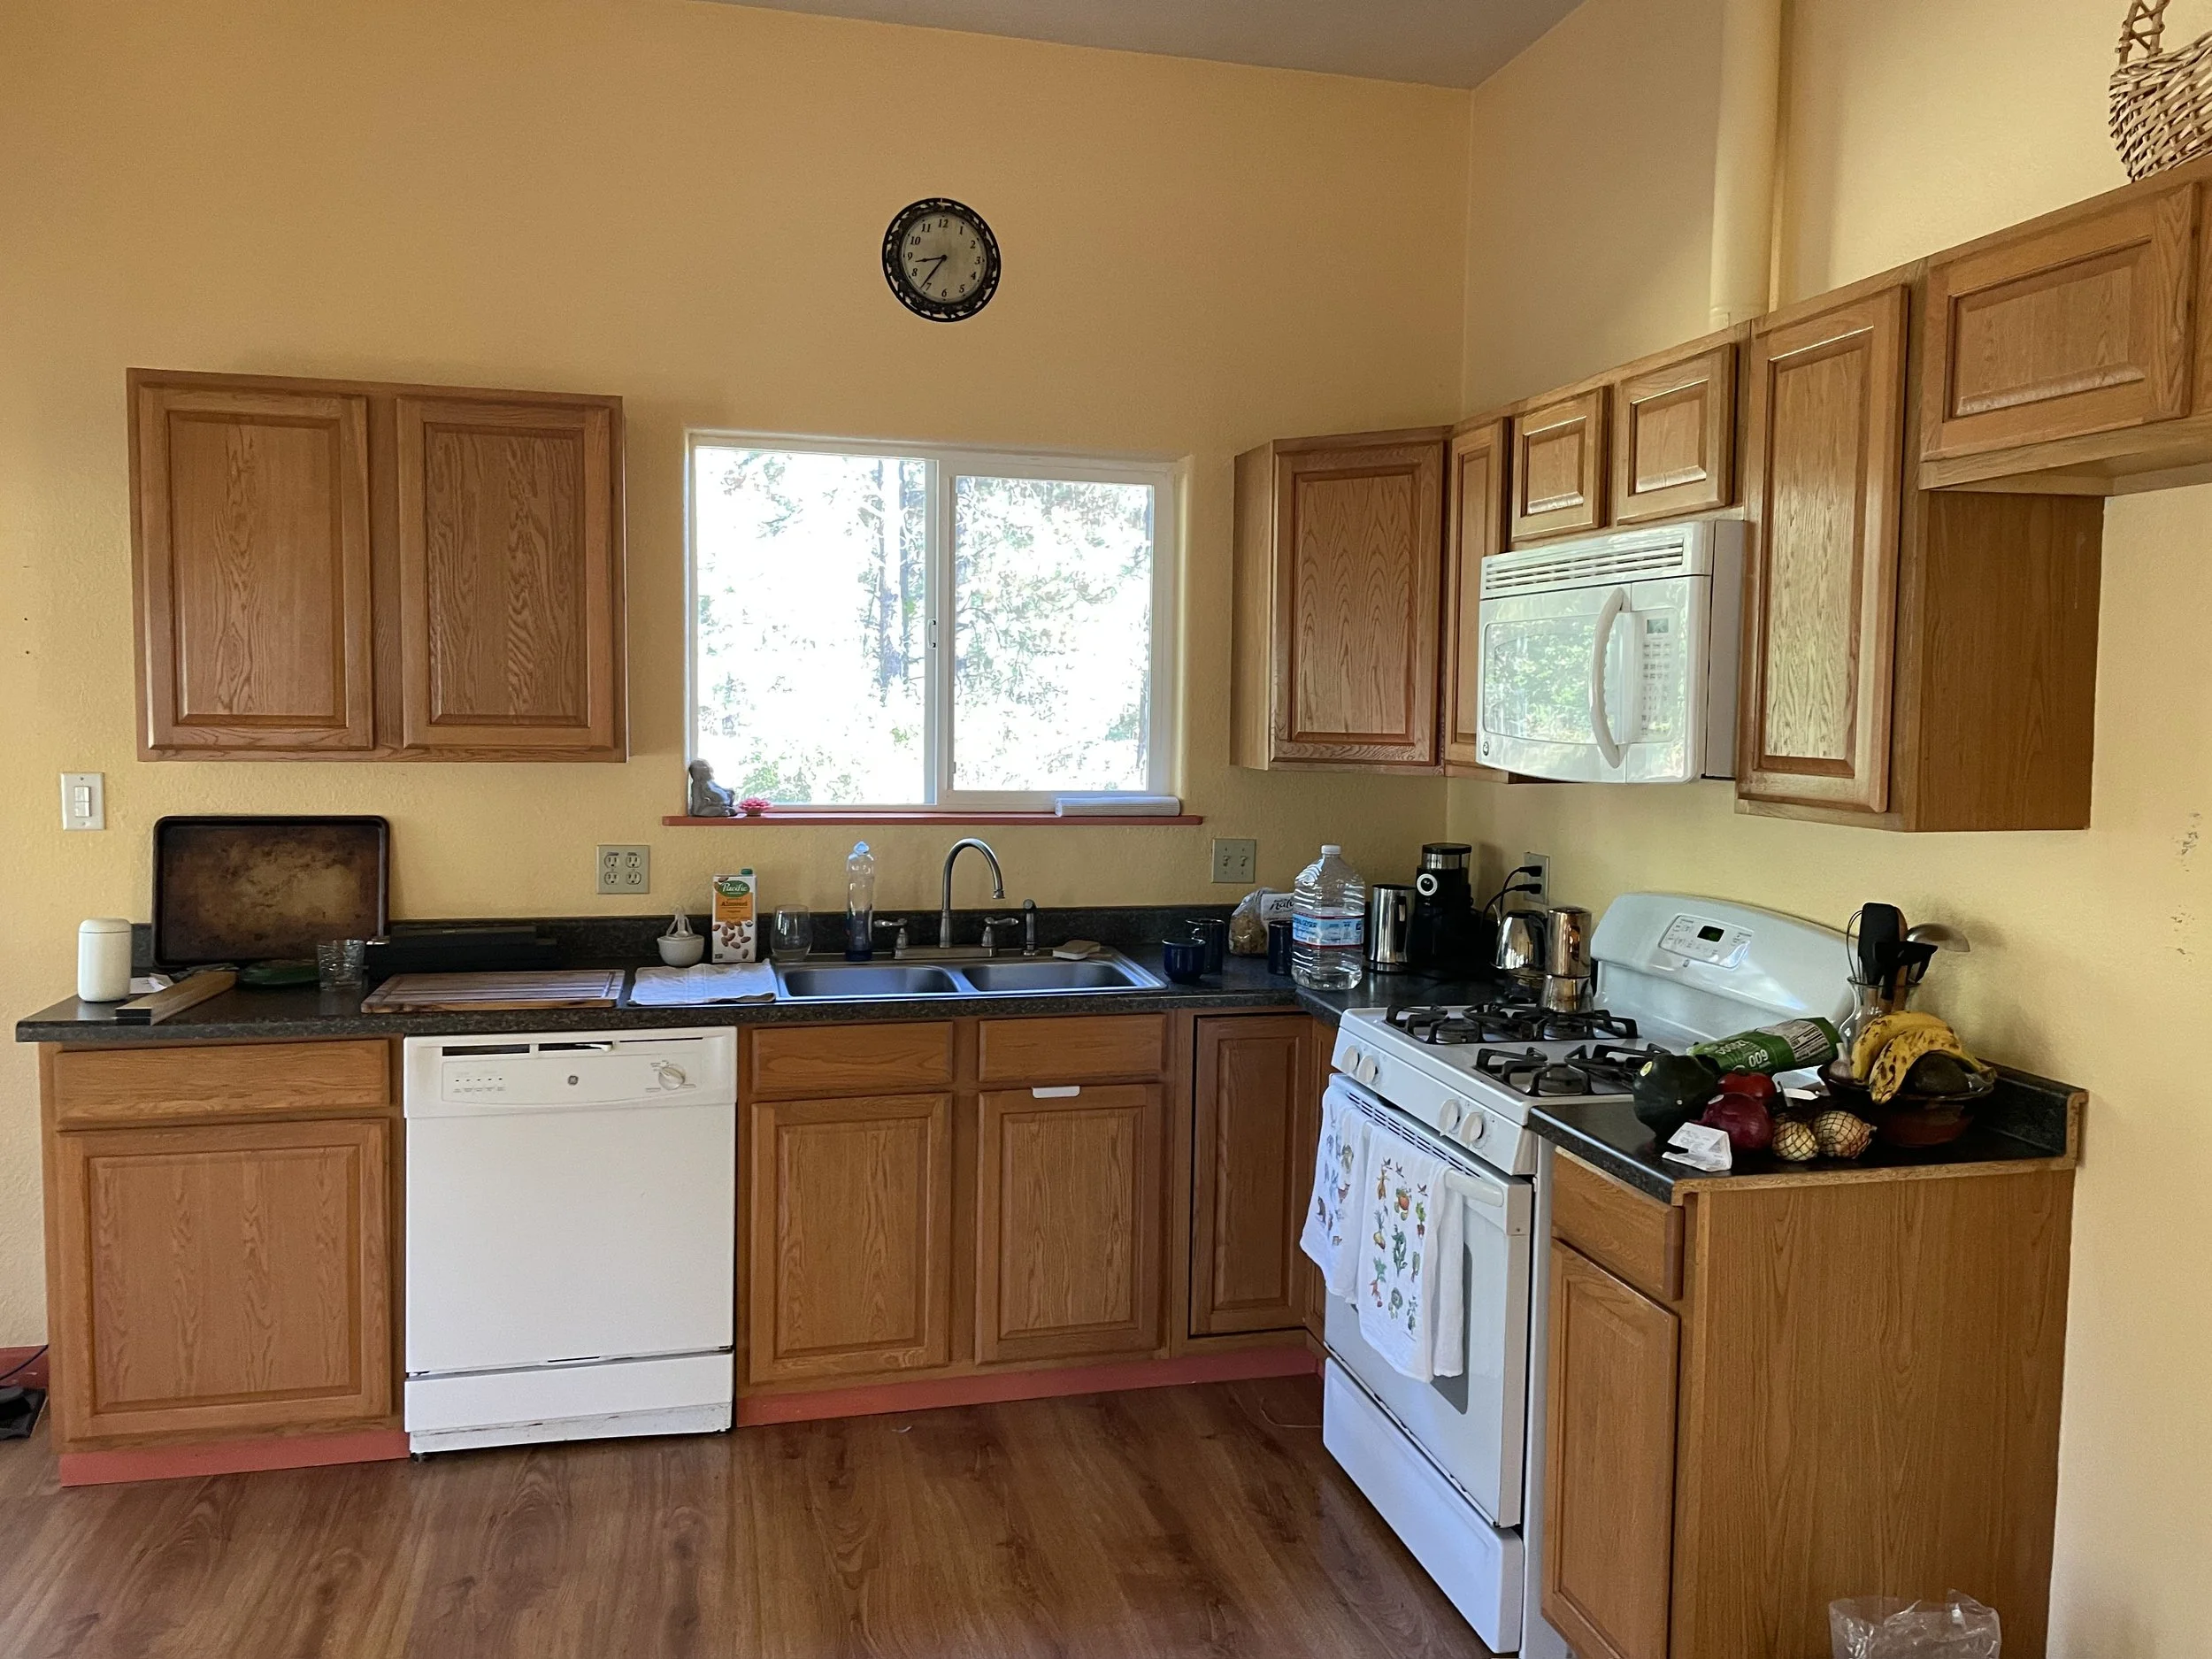
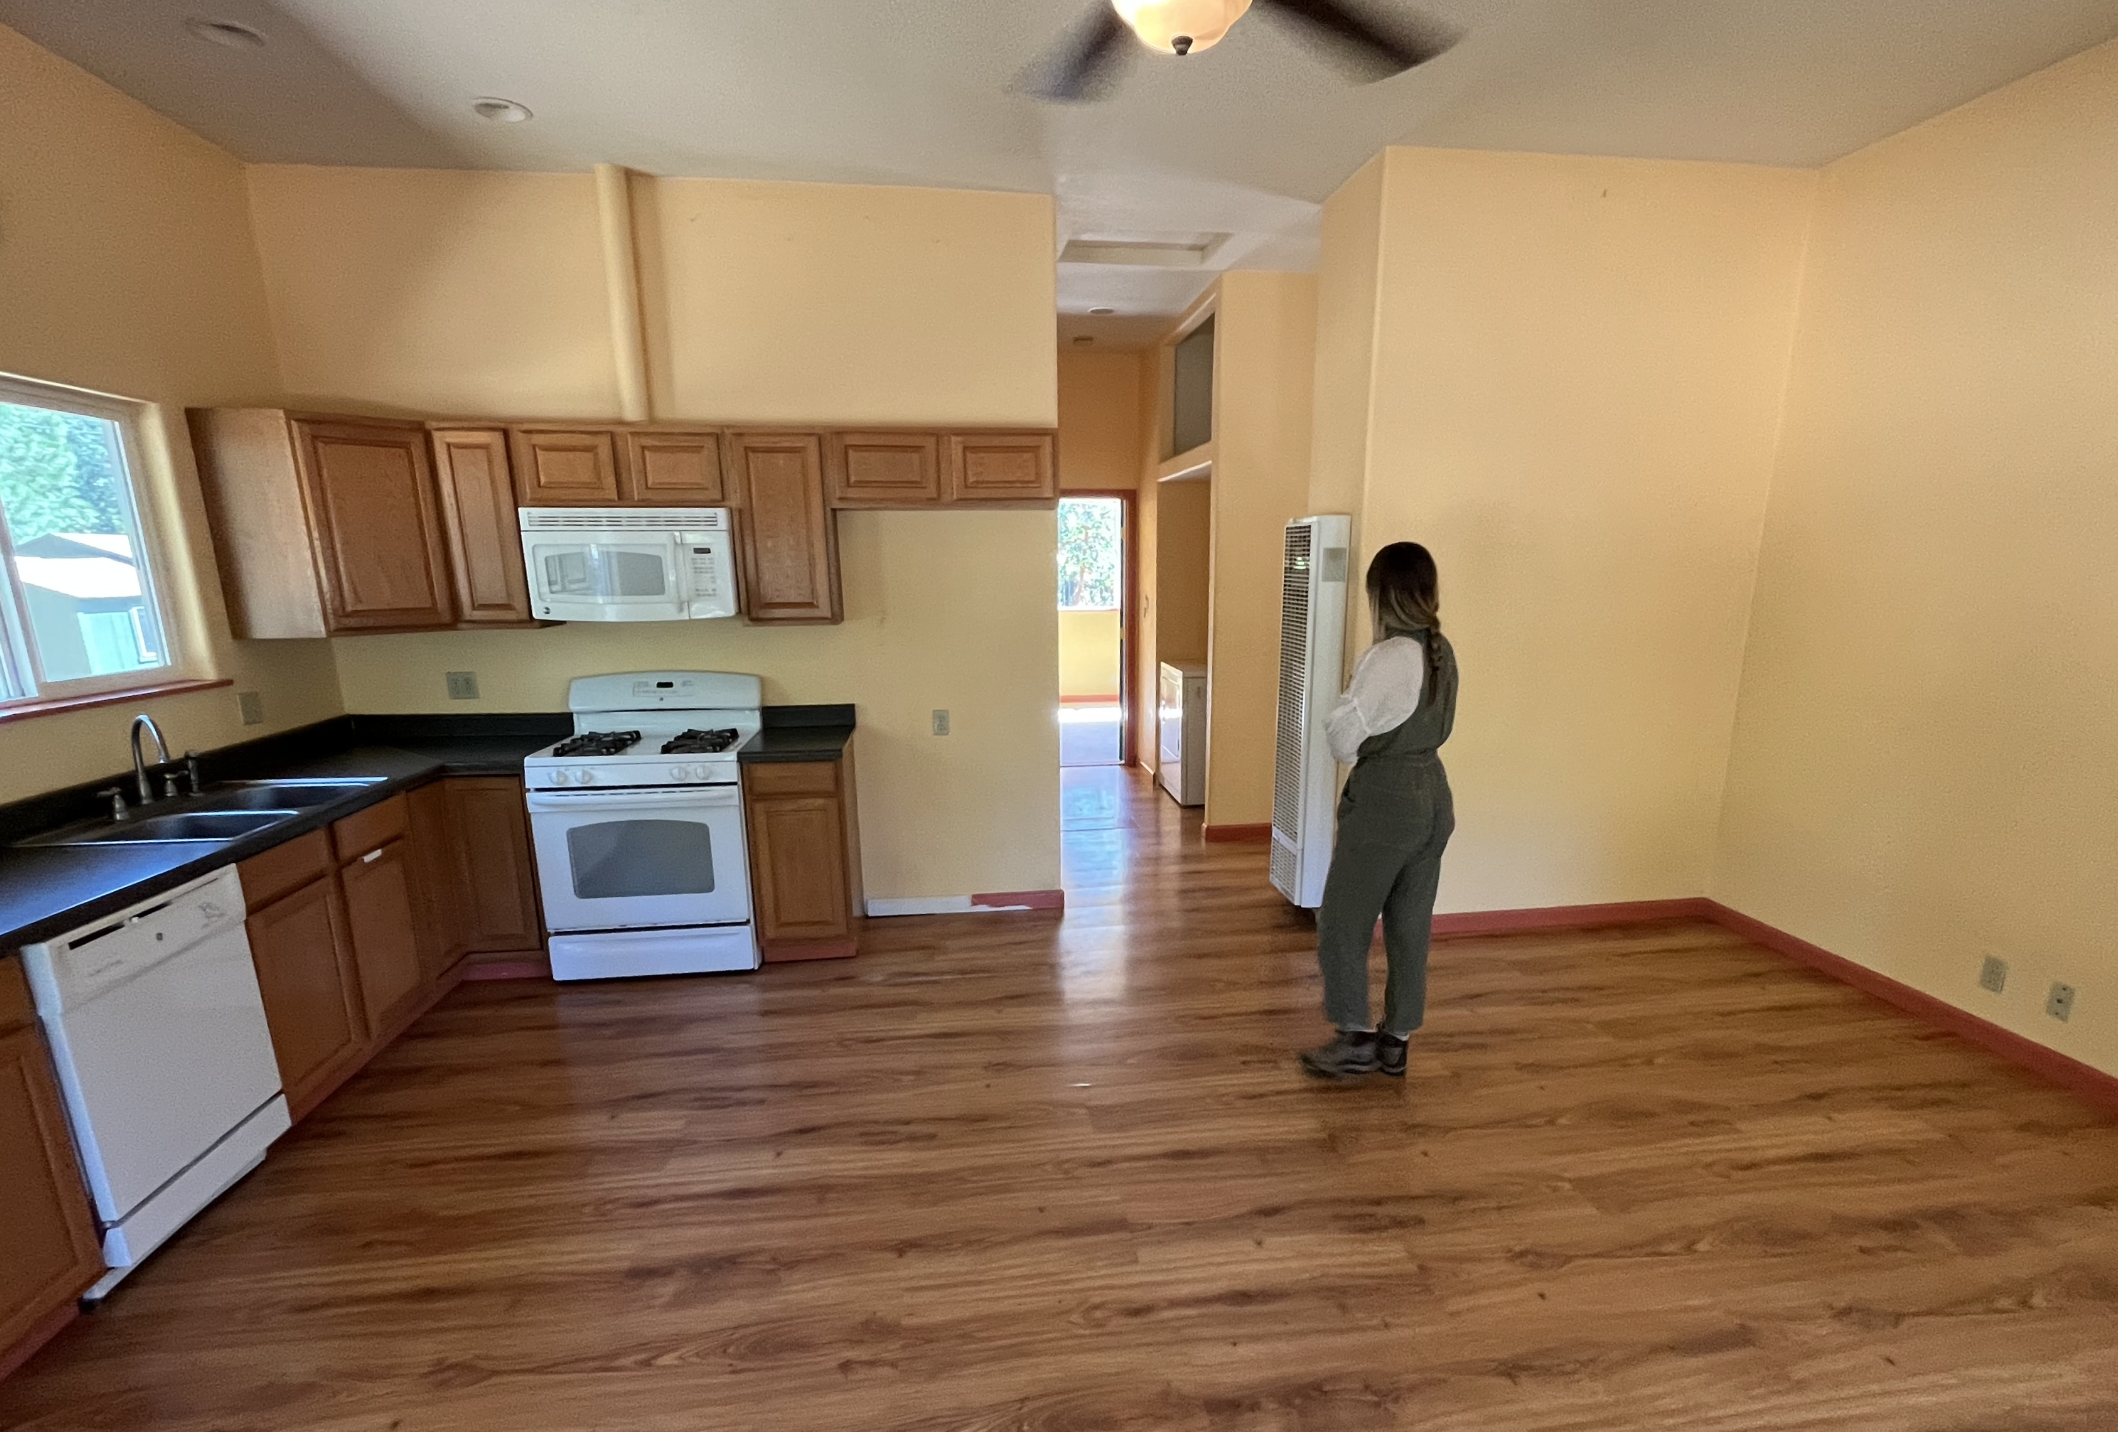


Thinking about how to renovate this kitchen (and on a budget) was definitely daunting. We both have a design eye and care about quality so we went back and forth a lot on what we were going to do to make this kitchen/living room work. The first thing we decided on was easy: paint! Commence Phase 2! The yellow walls, orange baseboards, and blue doors had to go, so we spent a week in October painting the kitchen/living room and anything else we could fit in that timeframe. Also, as we were painting we decided to get rid of the upper cabinets and committed to figuring out how to do open shelving.


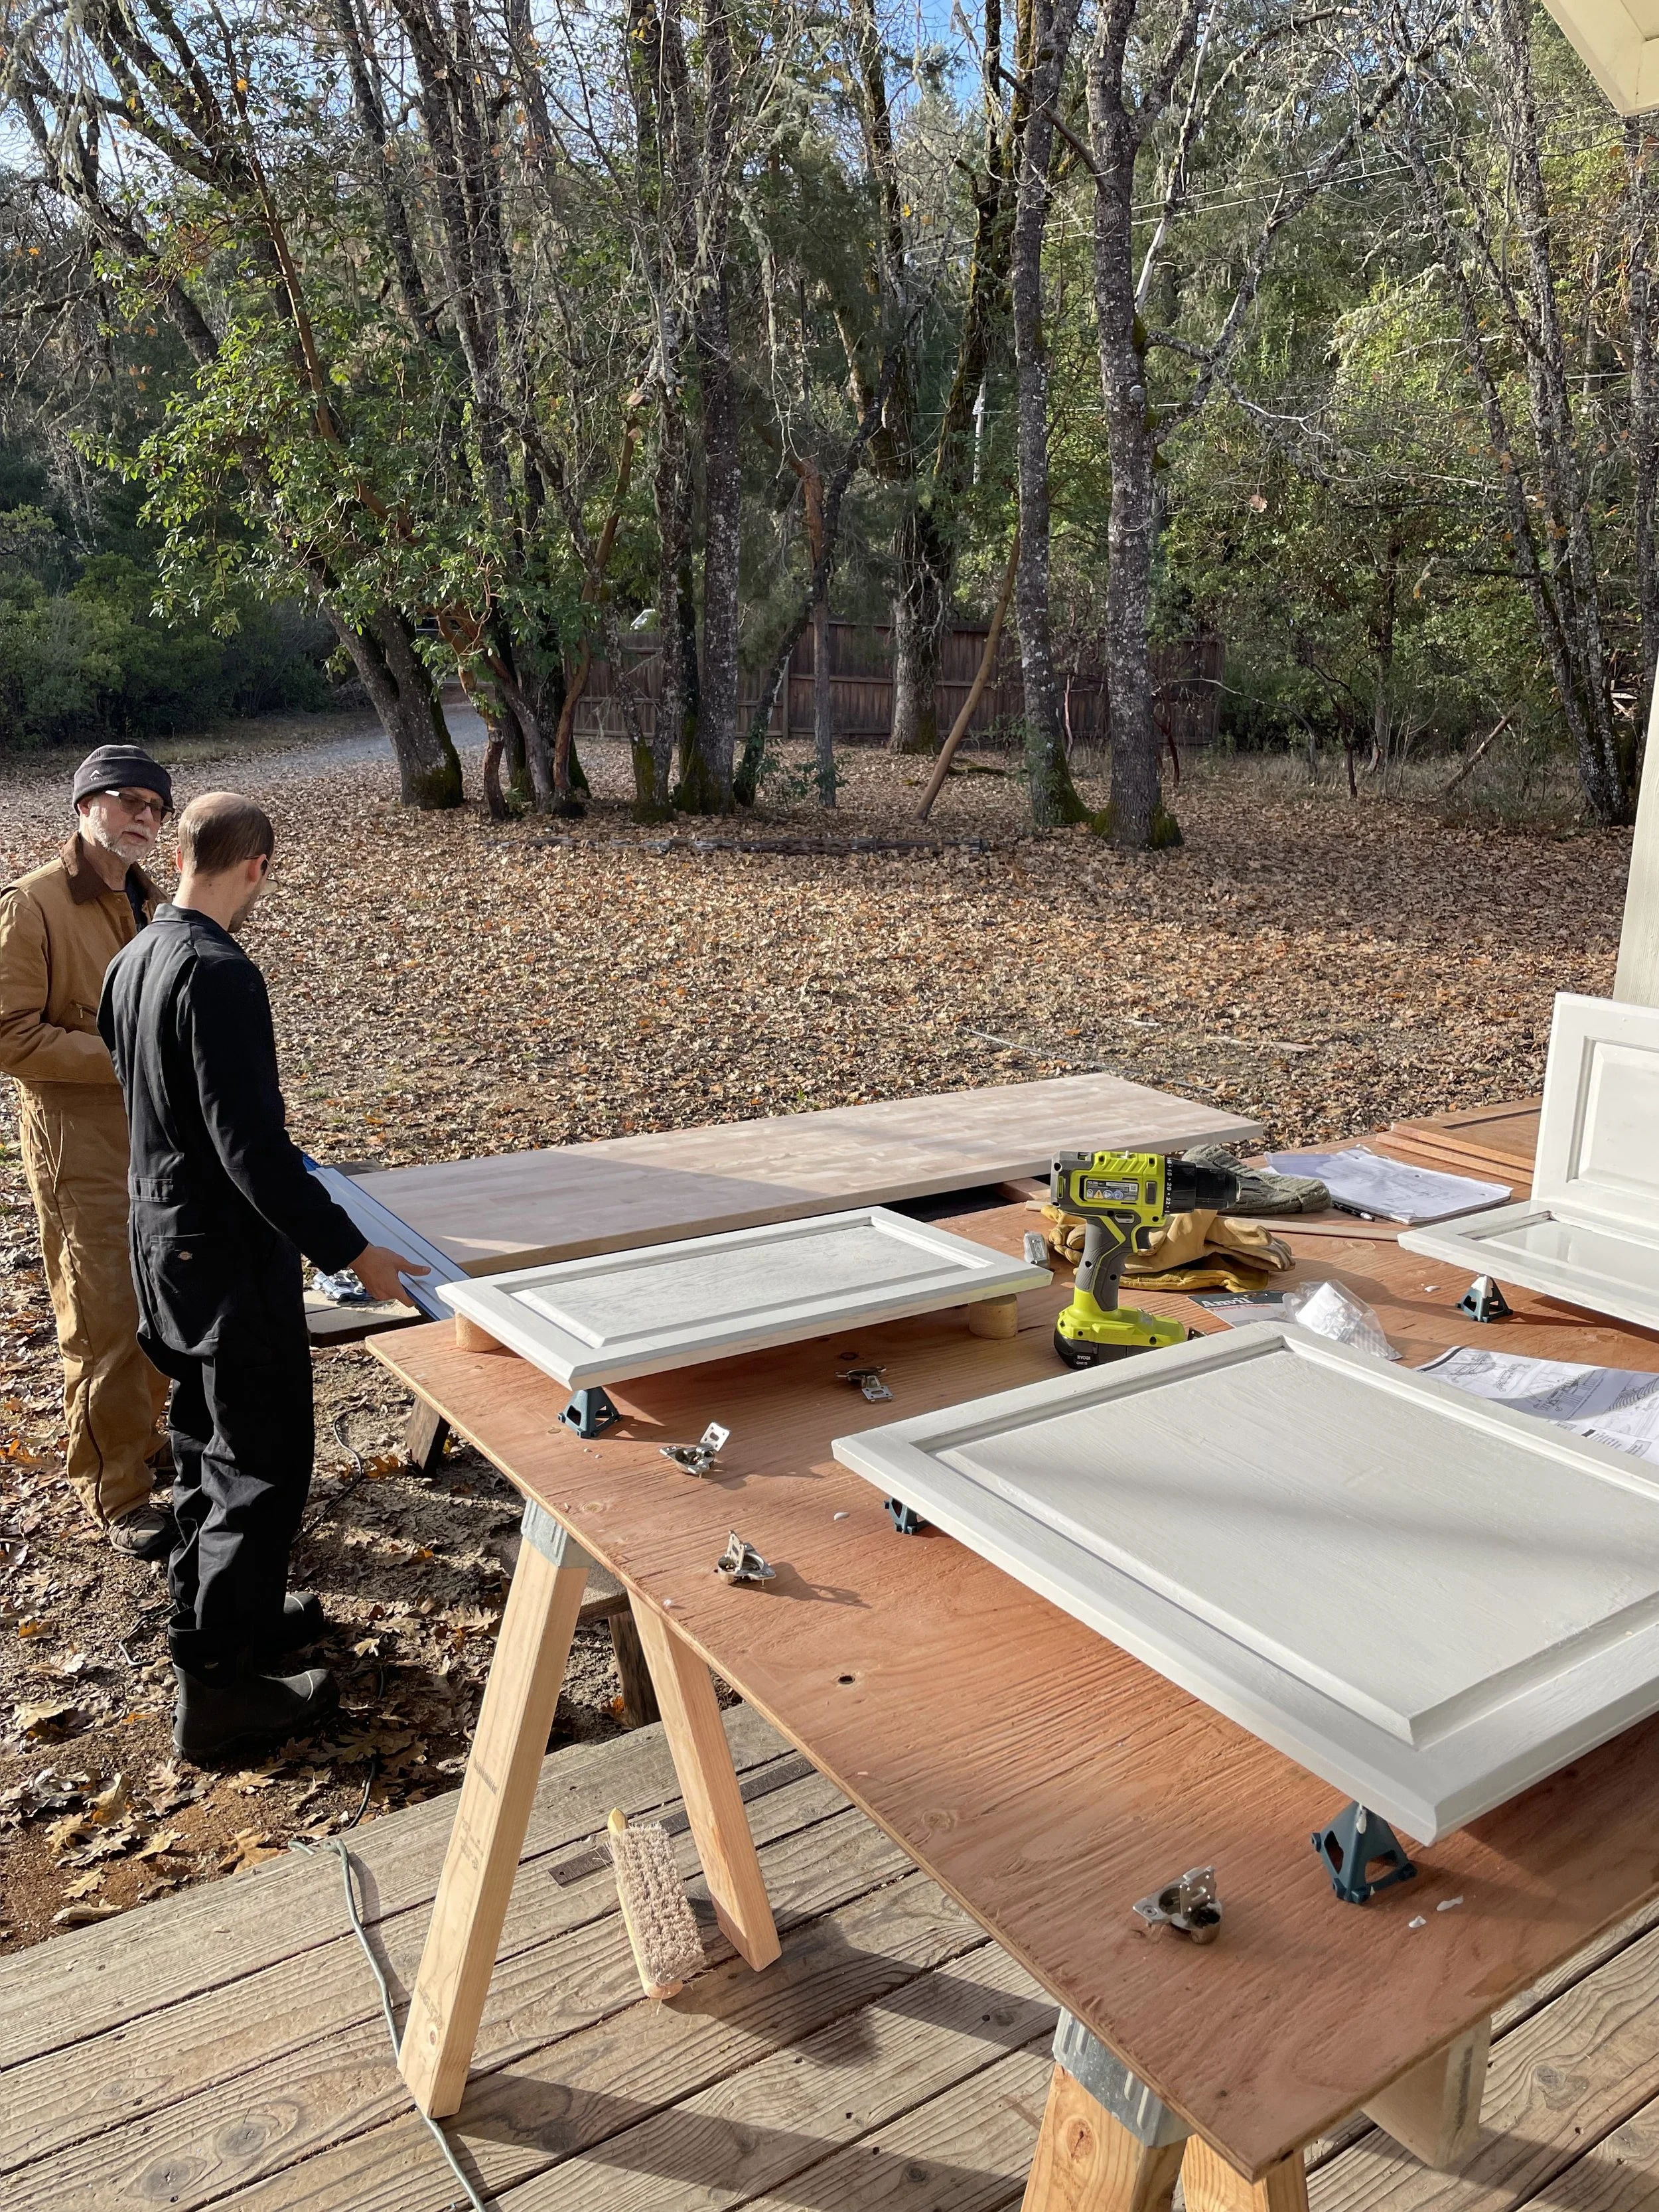
Phase 3 was the real challenge: demolition of the kitchen. Thanks to Miles’s film background we made a day by day “production” schedule as to what we should accomplish each day in order to get it all done within our 3.5 week timeline, oh and we were going to do this all by ourselves (and help from Miles's parents) without any outside contractors… we realized how out of our minds we were, but it was too late and we were committed! Somehow we pushed through those 3.5 weeks working every day on a different part of the project. Even so, when it was done, it was hard to truly rest since we had conditioned our bodies to be in a go-go-go state the entire time.
We did major research prior to this big renovation; those resources will be listed after the renovation photos for those interested.


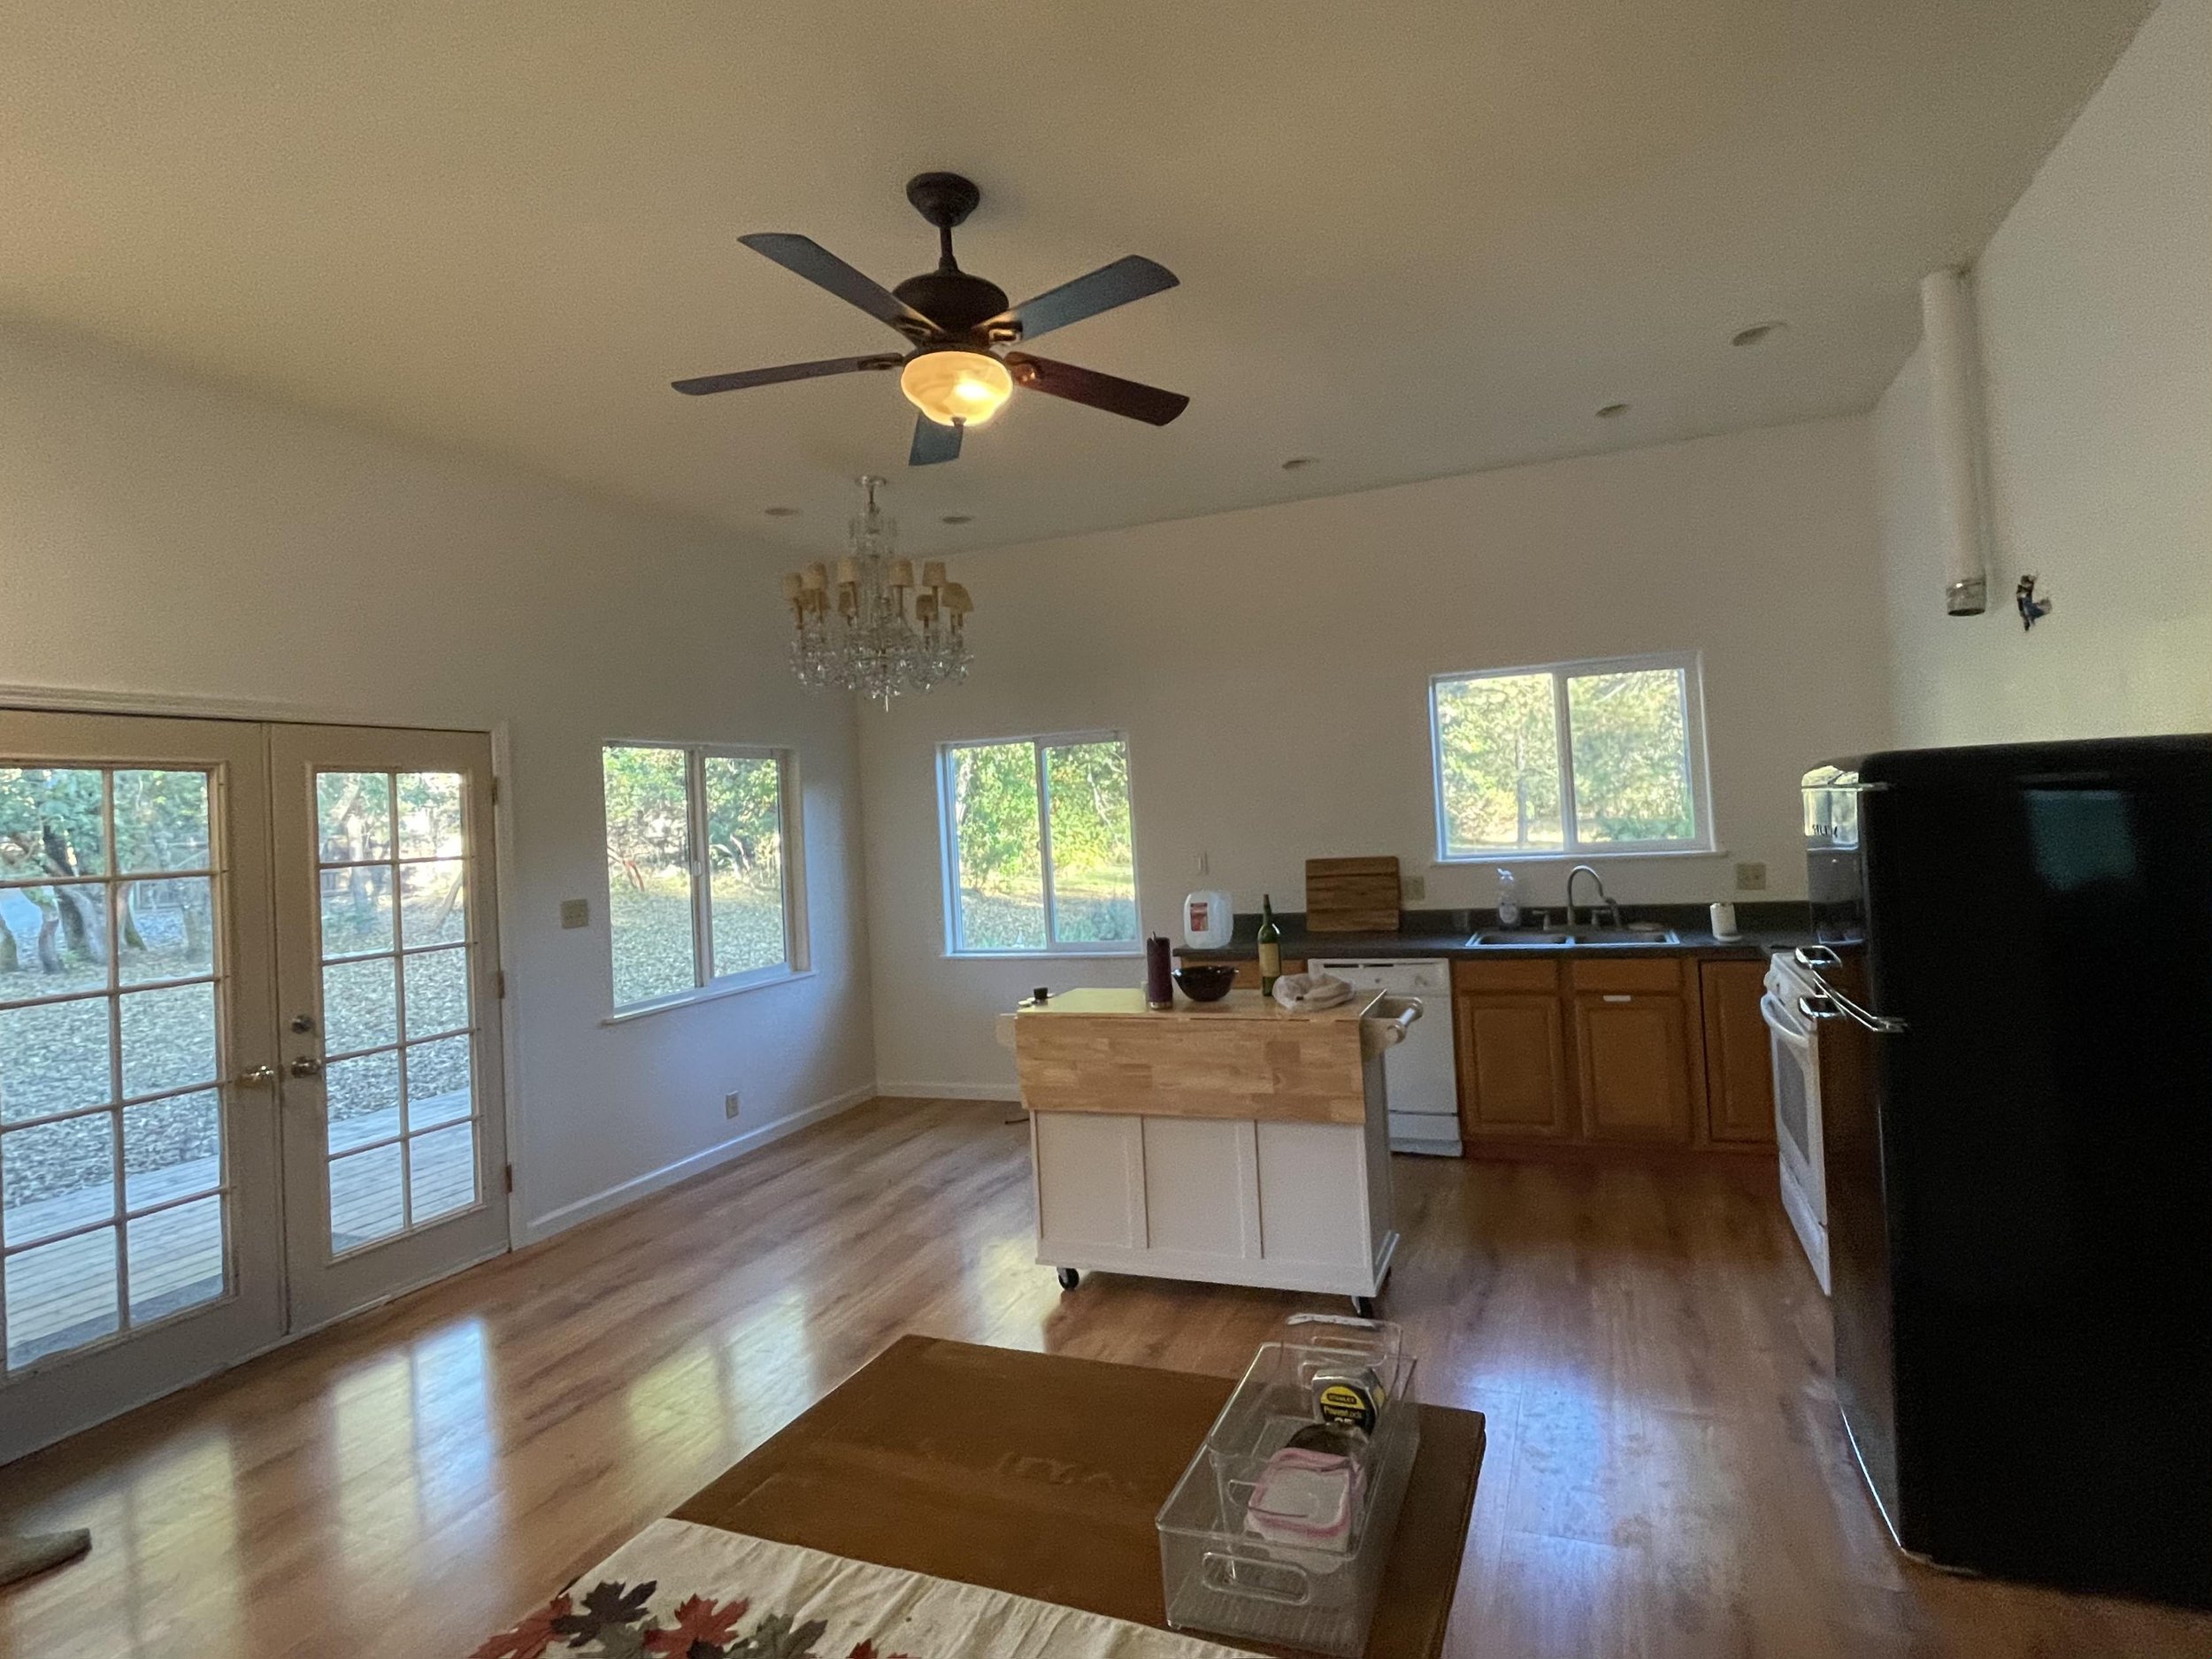
Phase 4… a complete kitchen/ living room! I didn’t capture any images of the actual shelves getting put up but that was one of the last things we did, another challenge but totally worth it!


We are definitely not professionals and I’m sure there are things we could have done better, but given our tight timeline, I’m pretty dang proud of what we accomplished! Of course, we wouldn’t have been able to do this without Youtube (bless) and other blogs who have done it before us. If we would have more time to think it through, I know we would have wanted to incorporate more used materials, where we could have not only saved some money but also reduced our impact on the planet. We would also still like to incorporate more ways to make everything more energy efficient, transition to an electric stovetop, etc. but all in good time.
If you’re wondering how the heck we figured this out, here are some videos and other resources we used:
Resizing Countertop to fit farmhouse sink